Giggle (the game engine I’ve
been building over the past year) has made the leap to HTML5 thanks to
the excellent Emscripten
compiler. This means that all of the games I’ve written for Giggle so
far can now be “ported to the web” so that they can run inside any
reasonably modern desktop browser. Today, “reasonably modern desktop
browser” translates into an updated-in-the-last year Chrome or Firefox
or (without sound) Safari 7. The big new feature we need to make this
work is WebGL.
Are you as annoyed as I am when you have to create the 7 (assuming you use Spotlight and Settings) different icon sizes that Apple requires iOS apps to provide? This post should be a real time-saver if you created your original icon in Photoshop.
One neat thing about implementing this auto-resize functionality as a Photoshop script (instead of a bash script using imagemagick and friends) is that the resize can take advantage of vector information (shapes, paths, layer effects) to provide a higher quality result than simple pixel downsampling can provide.
Here’s a handy tool in my tool-belt that I thought would be worth sharing. We’ve all dealt with situations in development where we have to create multiple lists of the same logical things. Here’s a classic example:
Here we’ve defined an enumeration and their stringified names so that we can pretty-print them. But, this means we have two lists that must have the same number and order of elements or there is a bug. These are parallel lists and they can be tricky to maintain.
Luckily, the C preprocessor gives us an elegant (but not well known) solution. We can put the list into a macro and then generate the parallel lists in the preprocessor such that they will always be correct. Here’s how it works:
Slick, huh? We’ve only listed our items once but we’ve generated the enum and the stringified names from that single list. Here’s what happened:
We defined a macro named “ANIMAL_LIST” that takes another macro as an argument. The macro then calls that macro with each of the elements of the list. Thus, ANIMAL_LIST is a “higher order macro” because its behavior is partially determined by the macro it accepts as an argument. We then define our enum and within the curly braces we expand the ANIMAL_LIST higher order macro using a macro that just emits each of the elements of the list directly. We then define our stringification array and within those curly braces we expand ANIMAL_LIST using a macro that emits the stringified version of each list element.
For a far more ambitious use of this higher-order macro concept, check out the BrianScheme Virtual Machine. Here, the opcode_table is a higher order macro that is expanded 7 times to produce opcode to string mappings, symbols for each of the opcodes, pointer to opcode mappings, and more. That’s a lot of parallel lists that must be kept consistent!
The original mac release had a packaging bug that meant it would only
work on Mountain Lion. This release should work on any version of OSX
version 10.5 or newer. Please leave a comment if you have
trouble. Thanks!
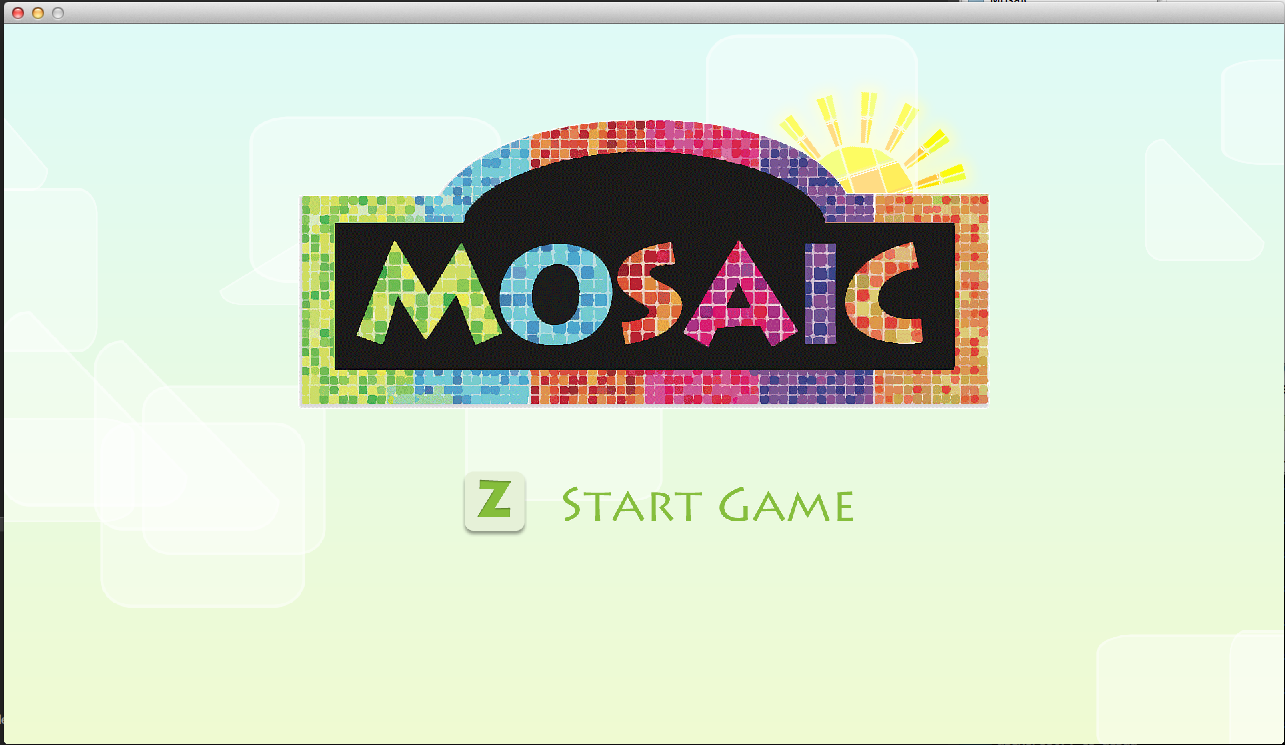
We’ve released a demo of Mosaic for the Mac! Mosaic puzzle game
created by
Stephen Mitchell and
me for game making contest
promoting the upcoming Ouya game
console. Grab the mac demo at let me know
what you think. If you like what you see then remember to thumbs up
our contest video so the
OUYA Create judges can count your vote.
I finished my second Game Jam and my very first team game project!
We’re calling this game “Mosaic.” It is designed for the upcoming
Ouya game console.
If you like what you see and can spare some social love then
thumbs up our video and
+1 our page. You
see, this jam is also a bit of a popularity contest.
Stephen Mitchell took
on most of the art and design responsibilities for this project. The
simple and clean aesthetic he brings really made Mosaic shine.
If you’re one of the few lucky people in the world who own an Ouya
(I’m loving mine) then you can
download the APK. We would love to hear what
you think.
I really get a lot out of gamejams. Sometimes
the deadline they impose is essential for forcing me to focus on the
things that matter most in my
game. @McFunkypants really helped
me understand how to harness the power of a deadline in his book
The Game Jam Survival Guide. I
highly recommend this book for anyone considering participating in a
game jam or who has participated but would like to do better next
time.
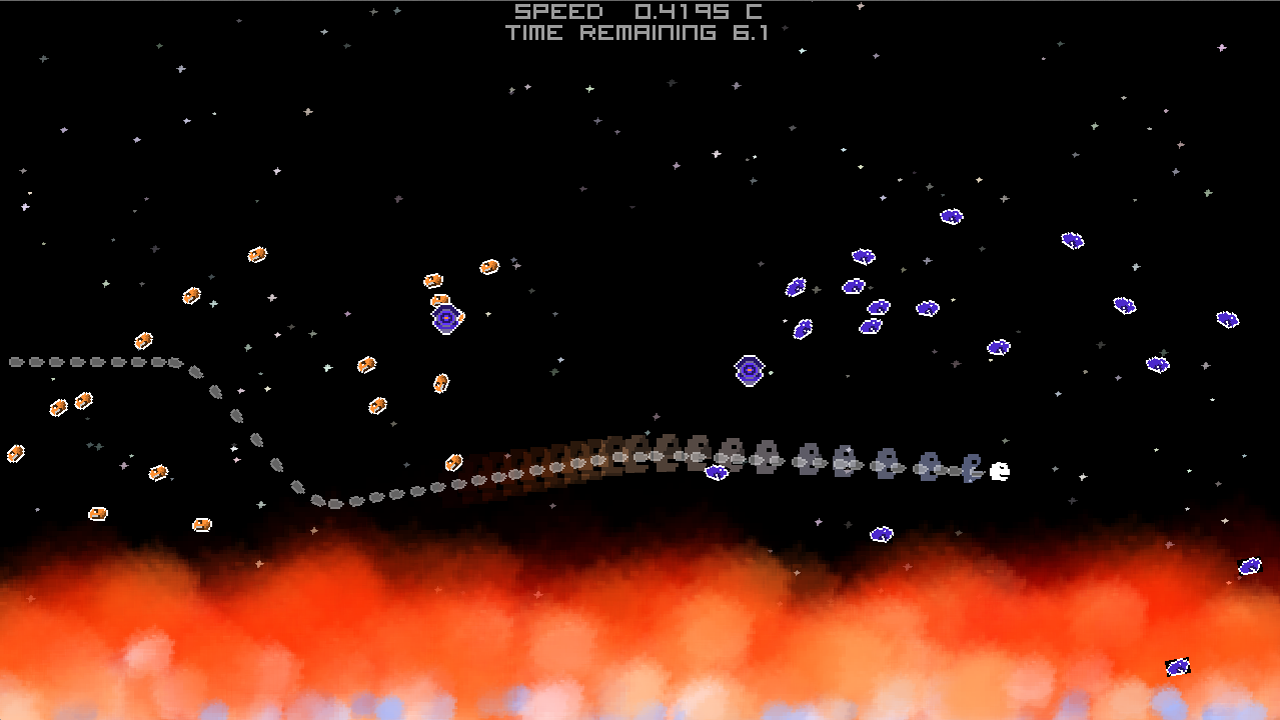
My game engine now runs on the Ouya (a new
Android-based device using a Tegra 3 ARM processor!)
One of the big challenges that I encountered during the port was asset
loading. Android packages, which are delivered as .apk files,
typically load assets at run-time by reaching back into the .apk
file. The Android provided API for accomplishing asset loading in Java
is appropriate but the Android NDK C API has some shortcomings. Why
would I say that when the Java API and the C API are almost identical?
C applications that handle streams of data from files are typically
designed around the file pointer abstraction (FILE*) and the Android
API isn’t compatible. This means, typically, that you would need to
alter the code of any third-party libraries that you are using (if
they deal with files) in order to port them the Android asset
API… until now!
My engine uses quite a few third-party libraries, specifically:
All of these libraries, except Box2D, provide features that already
exist behind some other Android API. The reason I explicitly provide
these features again through my own libraries is for portability. I do
my quick-turnaround build testing on my Mac but I want the same code
to work exactly the same way on the Ouya. The simplest way to achieve
this is to provide a lot of my own low-level support. The more “pure”
way to achieve this would be to create an abstraction layer that used
the Android APIs and the OSX APIs under the hood.
libogg, Lua, and stb_image all use the FILE* API to load files from
disk. They call fopen when they want to open a new file and fread
to extract data from it. They also occasionally use fseek to jump
around.
One amazing and well-hidden fact about the FILE* API is that it is
actually polymorphic and extensible! (A surprise from C, right?) We
can create a FILE* that uses code we wrote to satisfy fopen, fread,
fseek, and fwrite requests. We can use this little-known feature to
wrap the Android asset API in a FILE* API instead.
The funopen function creates a new file pointer that will delegate
control to the functions that you specify when the user uses fread and
friends on that file pointer. The first parameter to funopen is the
“cookie” to associate with the FILE*. This is arbitrary data that will
be given to your delegate functions whenever they are called. OOP
programmers should think of it as the self (or this) pointer.
Let’s write those delegate functions:
12345678910111213141516
staticintandroid_read(void*cookie,char*buf,intsize){returnAAsset_read((AAsset*)cookie,buf,size);}staticintandroid_write(void*cookie,constchar*buf,intsize){returnEACCES;// can't provide write access to the apk}staticfpos_tandroid_seek(void*cookie,fpos_toffset,intwhence){returnAAsset_seek((AAsset*)cookie,offset,whence);}staticintandroid_close(void*cookie){AAsset_close((AAsset*)cookie);return0;}
Now we can use the FILE* API to access our assets!
This is great but we still have to call android_fopen to create our
special FILE*. If we stopped hacking here then we would still need to
open up all those third party libraries to change the fopen calls to
android fopen instead. We can do better.
If we’re willing to say that ALL file access should go through the
asset API then we can achieve that quickly. We’ll just create a header
for our new android fopen library and redefine fopen using a macro:
Now we just include this header in our code and we can use fopen as
normal! But, again, we’re still adding code to those third party
libraries. Thankfully, gcc has the answer.
1
gcc -o foo foo.c -include "android_fopen.h"
The -include argument causes gcc to treat your code as-if you had
included the provided file at the very top of your code. Now, to port
Lua and libogg and any other big-fancy library that uses FILE* to
Android, all we need to do is tweak the build system to include our
magic header.
I am now the proud owner of Civilization 4 (for Mac) and I’m really
happy to see all of the modding potential that this game has.
For those of you just getting started (like me) the secret to enabling
the in-game Python console on the Mac is as follows:
Open your Documents folder and find the “Civilization IV”
directory. Then, open the CivilizationIV.ini in the text editor of
your choice (TextEdit is fine.) Find the line that looks like
1
CheatCode = 0
and change it to
1
CheatCode = chipotle
Now, start a new game of Civilization IV (or load an existing one) and
press Shift + ~ in game to bring up the Python Console.
Try typing these commands to see how the Python console works:
123
> print "hello world"

> print dir(gc)
There you have it!
If you have the Beyond the Sword expansion then follow the same
instructions given above but find the CivilizationIV.ini file in your
“~/Documents/Civilization IV Beyond the Sword/” directory instead.
Mass convert a folder of Photoshop Files (psd) into png files!
Copy this script into a file named convert2png.jsx and run it from Photoshop (File | Scripts | Browse…). Select the files you want to convert and click open. PNG files with the same name will be created and placed in the same directory as the source files.
Spriter is an exciting tool for building game animations being developed by BrashMonkey. Like many other interesting little-guy innovations of our time, Spriter started its life on KickStarter. Spriter produces a simple format called SCML that’s designed to be consumed by third-party game engines.
Since I’m a proud sponsor and future user of Spriter I wrote a SCML parser / playback tool as part of a Scheme game engine I’m working on. The SCML code is nicely abstracted from the rest of my engine so it should be very easy to port to other LISPy languages if anyone is interested.
In action:
All of the SCML related code is in the spriter.scm file. The only dependency on the rest my code has to do with turning raw XML into an equally raw (but far nicer) tree of s-expressions.
This implements the final (post beta) SCML spec. Interestingly, this may actually be the FIRST implementation of the post-beta spec. I haven’t found any others yet.
To interpolate the animation to any time between 0 and its animation-length:
1
(interp-animanimtime)
This returns a list of tkey objects which contain the interpolated rotations, positions, and centers for all of the sprite fragments presented in the order they should be drawn.
Here is an example of those tkey objects being rendered using my engine.